Custom CSS and JavaScript for product quizzes
Customise the RevenueHunt quiz with CSS and JavaScript: selectors, sample code, and the Built for Shopify vs Legacy API split that catches most developers off-guard.
Two layers of customisation extend the RevenueHunt quiz beyond its built-in design panel: custom CSS for visual styling (selectors, fonts, animations, layout tweaks), and custom JavaScript for behavioural logic (computed fields, integrations, callback functions). The CSS layer works almost identically on every platform. The JavaScript layer differs significantly between Built for Shopify and the legacy / multi-platform versions: they use entirely different global objects (quiz + actions on Built for Shopify, prq on Legacy / Woo / Magento / BC / Standalone). Knowing which API you’re targeting before you write the first line of code is the difference between five minutes and five hours of debugging.
What you'll learn
- →Where to put custom CSS in the Quiz Builder, with sample selectors for backgrounds, fonts, buttons and picture-choice grids.
- →The Built for Shopify JavaScript API (
quiz+actions): native Shopify cart, shadow DOM access, event handlers. - →The Legacy and multi-platform JavaScript API (
prq): Vue.js-based, slide IDs found via console, callback-function pattern for storefront integration. - →An API comparison table so you know which method on one platform maps to which method on the other.
Fig. 01 A quiz styled with custom CSS to match a brand identity. Same Quiz Builder engine, completely bespoke surface: typography, palette, spacing, motion all customised beyond what the theme-inherited defaults provide.
For the foundations of a high-converting quiz, see how to build a successful product recommendation quiz. For the question types you can style, see product quiz question types: the complete reference.
Why customise with CSS and JavaScript:
- Brand consistency. Match the quiz to your store’s typography, colour palette and motion language so it feels like part of the storefront rather than a third-party widget. A well-styled product recommendation quiz reads as a native part of the shopping experience, not a bolt-on.
- User experience refinement. Tighten layouts, adjust touch targets for mobile, or rework specific question slides to fit your category’s expectations.
- Custom functionality. Computed fields (BMI, dosage, fit), conditional content, third-party analytics events, and callback-driven integrations that don’t ship with the Quiz Builder by default.
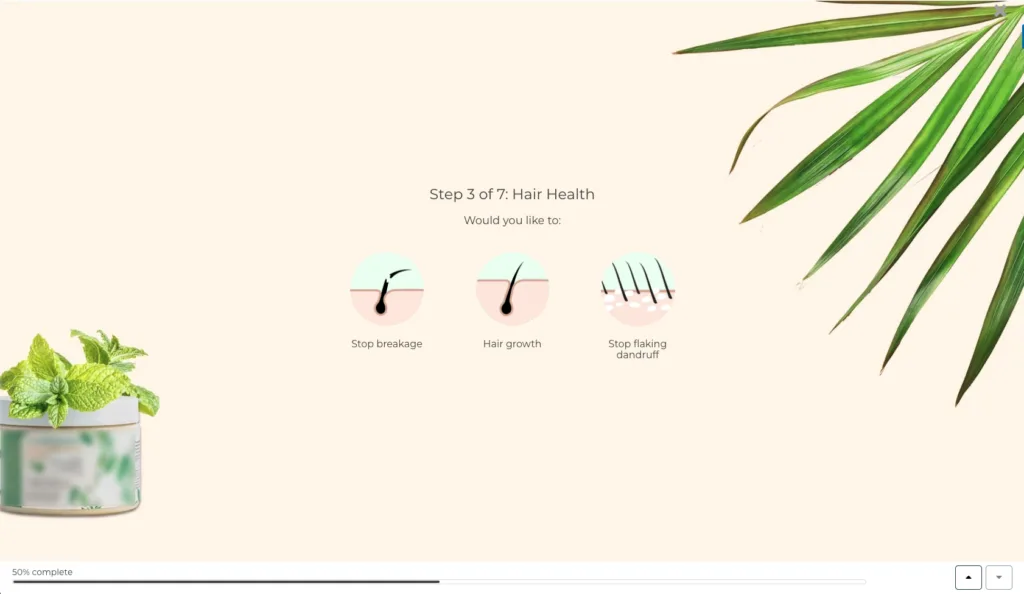
Fig. 02 Custom CSS reshapes the default quiz layout to match a brand identity that the design panel alone cannot reach. Useful when the brand has strong visual rules that require pixel-level control.
Jump to:
Styling with CSS
Custom CSS lets you override any default styling on the quiz. The setup path is the same on every platform, and the CSS itself behaves the same on every platform.
Step 1: open the custom CSS editor
- Open the Quiz Builder.
- Navigate to the Quiz Design tab.
- Scroll to the Custom CSS section and click Add to open the CSS console.
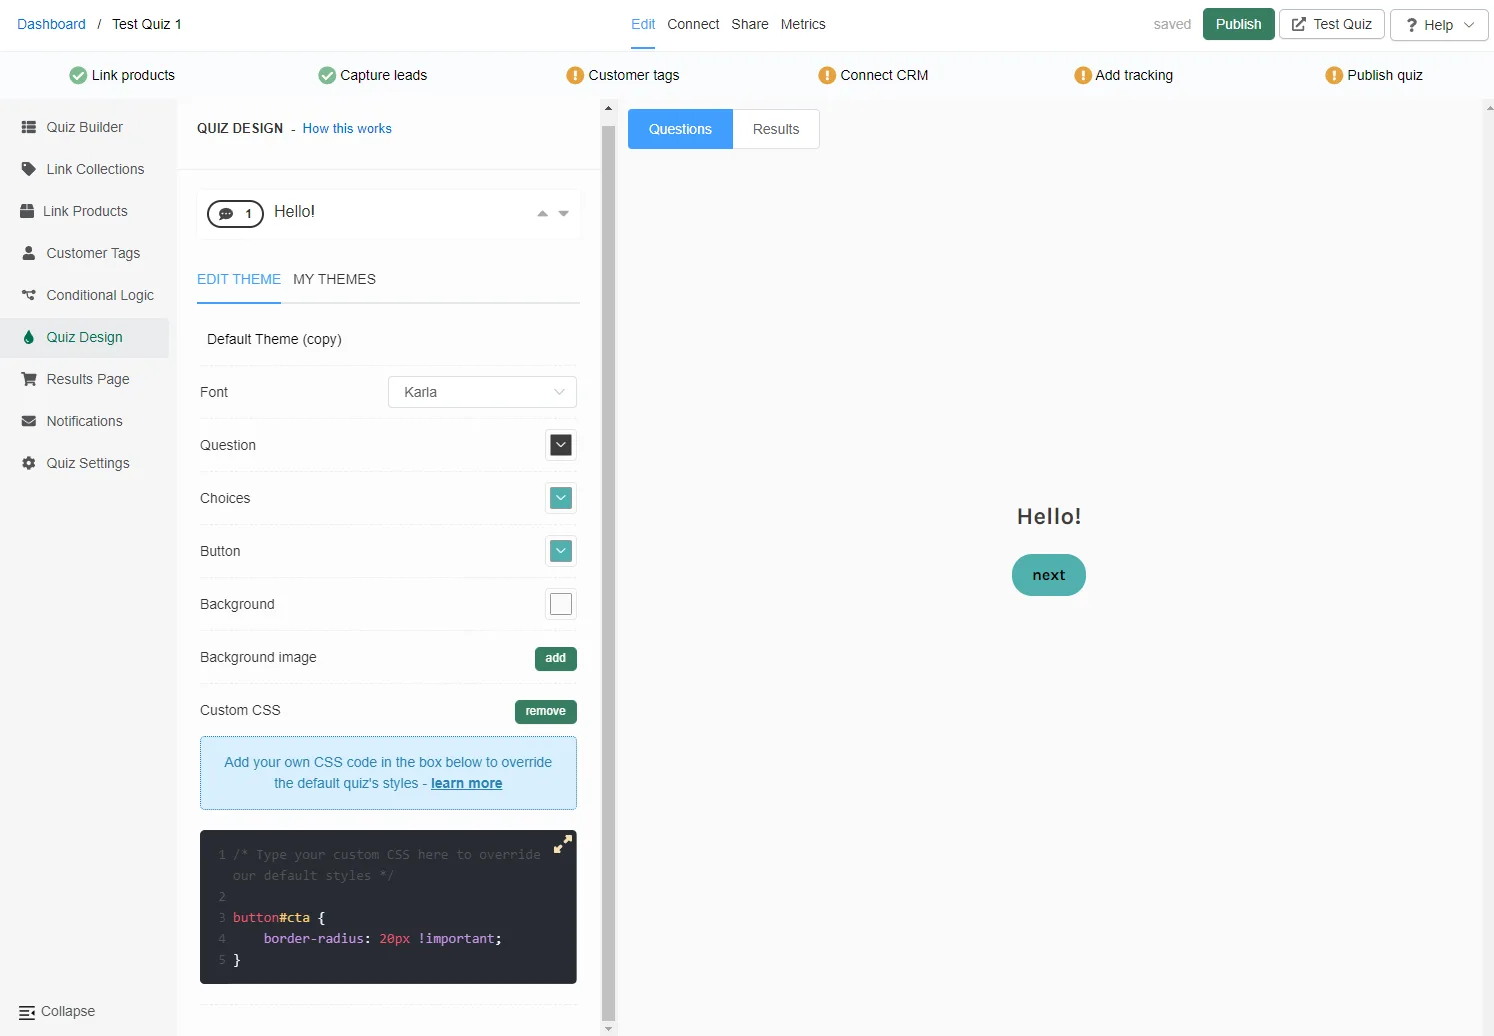
Fig. 03 The Custom CSS console inside the Quiz Builder Quiz Design tab. Click Add to open the editor; styles publish on the next quiz save and apply instantly across every embed.
Step 2: basic customisations
In the CSS editor, you can insert any custom styling rules to adjust the quiz appearance. You can modify elements of the quiz or the results page such as fonts, colors, and layouts.
How do I find CSS selectors of quiz elements?
To find the correct CSS selector for any quiz element, simply right-click the element on your browser and select Inspect. This will open the browser’s Developer Tools, where you can view the HTML and locate the exact selector to target.
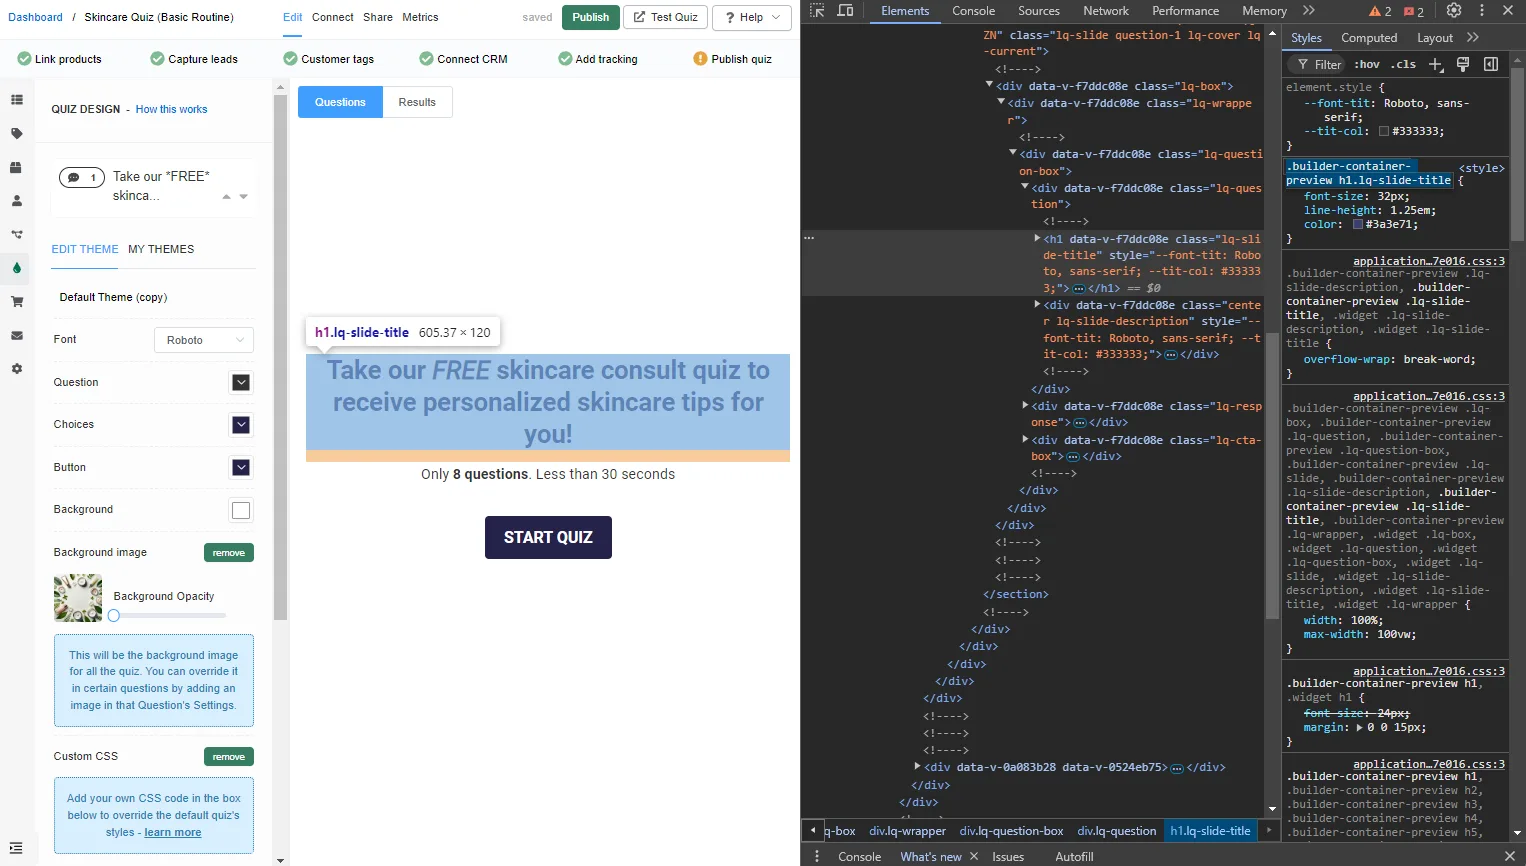
Fig. 04 Browser DevTools inspecting a quiz element. Right-click any quiz element and Inspect to surface the exact selector you need for a custom rule.
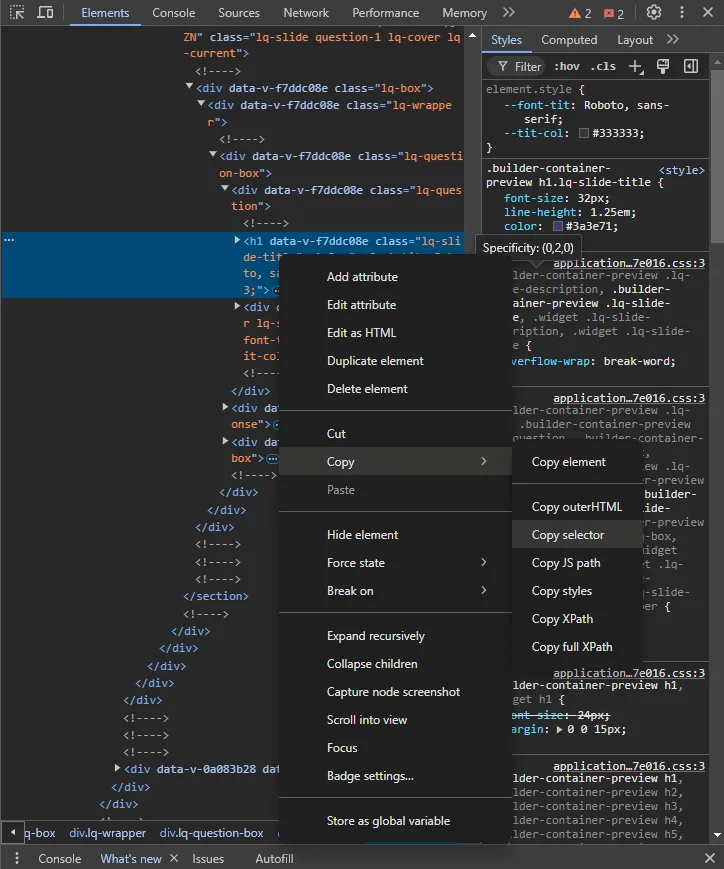
Fig. 05 The DevTools elements panel highlighting the specific selector for a quiz element. Copy the selector into the Custom CSS console; the rule applies to every instance of that element across the quiz.
Here are some sample CSS codes you can use in your quiz:
| Action | Code |
|---|---|
| Change the background color | .lq-quiz {
background-color: #f0f0f0;
}
|
| Modify the font style and size | .lq-quiz h1 {
font-family: 'Arial, sans-serif';
font-size: 18px;
}
|
| Uploading a Google Font |
@import url('https://fonts.googleapis.com/css2?family=Quicksand&display=swap');
|
| Style the buttons | #cta {
background-color: #333;
color: #ffffff;
border-radius: 5px;
}
|
Tip
Use Markdown for Text Styling
You don't always need custom CSS to style your quiz. You can use Markdown language to format text within the quiz for basic styling such as headings, bold, italics, links, images, and videos.
Step 3: advanced CSS customisations
For more complex design customizations, you may want to target specific quiz elements using advanced CSS selectors, pseudo-classes, or even animations.
Add specificity to your CSS rules
You can add specificity to your CSS rules, so that they are applied only to the quiz or a certain question. For example:
#quiz p {color: red;}will change the color of all the paragraphs in the quiz to red.
#question-AbC7Zde p {color: red;}will change the color of a paragraph to red ONLY for question AbC7Zde, where AbC7Zde is the question ID. You can find a specific question ID in Quiz Builder > Question settings.
Here are some examples of advanced CSS customizations you can apply to your quiz:
| Action | Code |
|---|---|
| Change Picture Choices to Icons | /* Change Picture Choices to Icons */ |
| Hide Product Variants | /* this hides the product variants */
.no-variants-dropdown {
display: none;
}
|
Step 4: customisation examples
To enhance the appearance of your quiz, here are a few real creative customization ideas:
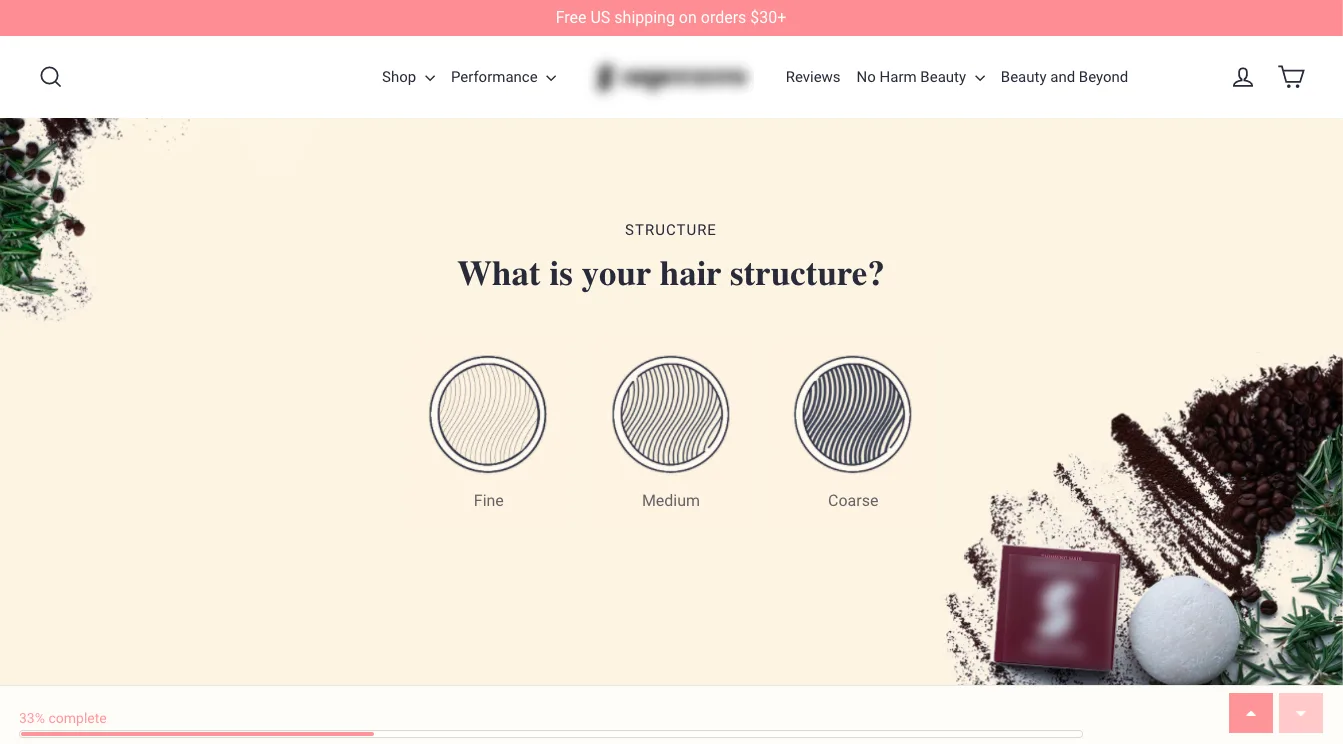
Fig. 06 Creative example: a quiz styled with a brand-specific palette and typography. The colour and type system carries through every slide so the quiz reads as native to the brand, not a third-party embed.
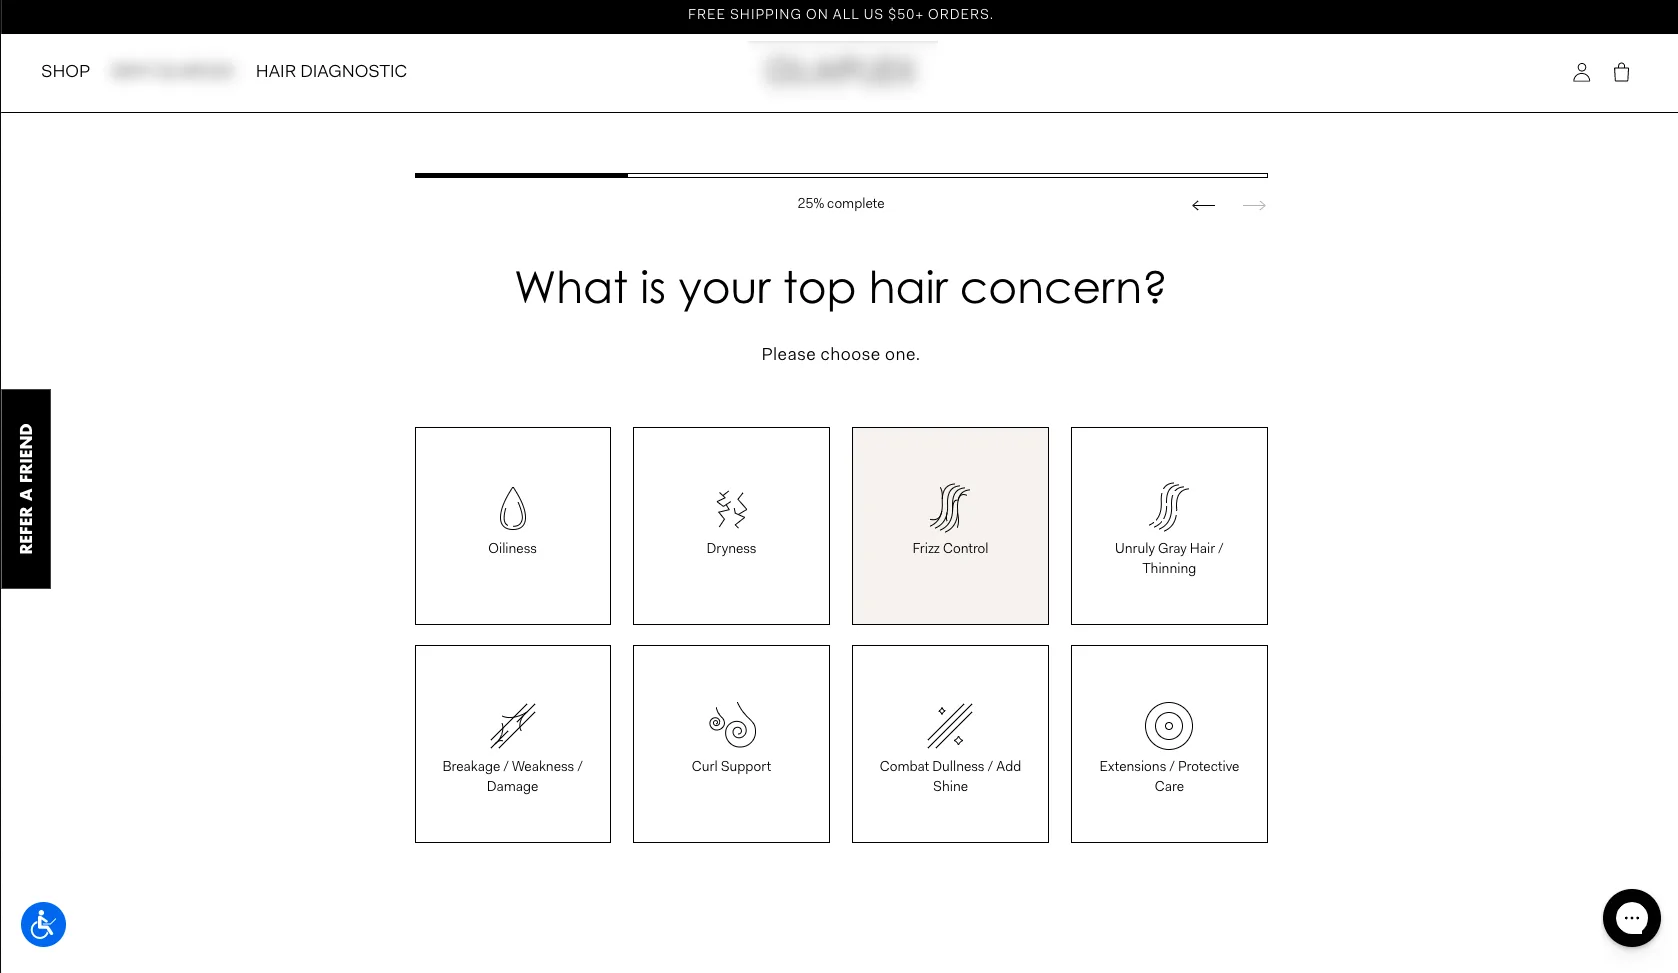
Fig. 07 Creative example: a quiz with a custom layout and visual treatment that goes beyond the default slide structure. CSS positions, spacing and decorative elements rebuild the slide to fit the brand world.
Fig. 08 Creative example: the results page styled to match the brand's full visual identity. The recommendation lands inside a frame that feels designed-for not assembled-from; the page reads as part of the brand, not a third-party widget.
Adding custom features with JavaScript
JavaScript enables interactivity and dynamic content in your quiz: computed fields based on previous answers, third-party analytics events, callback-driven storefront integrations, custom DOM manipulation, and more.
The critical platform note: Built for Shopify and the legacy / multi-platform versions ship completely different JavaScript APIs. They expose different global objects, different cart-integration paths, and different patterns for accessing the DOM. Pick the right one before writing code.
Quick API comparison
| Concern | Built for Shopify | Legacy / WooCommerce / Magento / BigCommerce / Standalone |
|---|---|---|
| Global object | quiz (read-only data) + actions (methods) | prq (Vue.js) |
| Block / slide references | Block IDs visible in Quiz Builder UI (copy icon) | Slide IDs via prq.quizSlides() in browser console |
| Read an answer | quiz.answers.byBlock['ref'].value | prq.getSlideValue(slideId) |
| Recommended products | quiz.resultContext.slotItems | prq.recommendedProducts() |
| Cart operations | Native Shopify AJAX: /cart/add.js + actions.syncCart() | prq.addAllToCart() |
| DOM access | window.quiz.querySelector() (shadow DOM) | Standard document.querySelector() |
| Event handler | window.quiz.onChange = (event) => {...} | Standard DOM event listeners |
| Discount code | Native Shopify discount AJAX | prq.setDiscountCode('CODE') |
| Liquid in custom code | Available (Shopify) | Not available |
Where to put the code (same UI path on every platform)
Both APIs are accessed from the same two places in the Quiz Builder:
On the results page:
- Navigate to Results Page Settings in the Quiz Builder.
- Open Advanced Settings.
- Find the Custom JavaScript section and click Add.
On a specific question:
- Open the question settings for the slide where you want the script to run.
- Open Advanced Settings.
- Find the Custom JavaScript section and click Add.
The toggle button (▷ / ❚❚) next to the editor enables or disables the script without deleting it, which is useful for debugging. Click Save (Built for Shopify) or Publish (other platforms) to push the code live.
For accelerated authoring, click ✨ Get help with custom JavaScript to open Quiz Copilot, which can generate platform-appropriate code from a natural-language prompt (e.g. “calculate BMI from the weight and height question and display it on the results page”).
On Built for Shopify
The Built for Shopify version exposes two globals:
quiz: read-only context (answers, variables, progress, current result, recommended products).actions: methods that mutate state (navigation, answer updates, cart operations).
Reading quiz state
// Get an answer by block reference (copy from the Quiz Builder UI)
const skinType = quiz.answers.byBlock['skin-type'].value;

// Access score variables
const sensitivity = quiz.variables.scores.sensitivity;

// Track quiz progress
const percent = quiz.progress.percentComplete;

// Current results-page data
const slot = quiz.resultContext.slotItems[0];
Triggering navigation and answer mutations
// Advance to the next question
actions.next();

// Jump to a specific question or result
actions.overrideNext('results-page-A');

// Set or clear an answer programmatically
actions.setAnswer('budget-tier', 'tier-2');
actions.clearAnswer('budget-tier');
Cart operations (Shopify-native)
// Add a product variant to the cart
await fetch('/cart/add.js', {
  method: 'POST',
  headers: { 'Content-Type': 'application/json' },
  body: JSON.stringify({ id: variantId, quantity: 1 }),
});

// Refresh the quiz UI to reflect the cart change
actions.syncCart();
Shadow DOM access
Built for Shopify renders the quiz inside a shadow DOM, which means document.querySelector() from the storefront page won’t reach quiz internals. Use the quiz’s own scoped selector:
const myButton = window.quiz.querySelector('#custom-cta');
const someElement = window.quiz.getElementById('bmi-display');
Event handler
window.quiz.onChange = (event) => {
  // event.blockRef, event.value, event.selectedLabel
  console.log('Answer changed on', event.blockRef, 'to', event.value);
};
BMI calculator example (Built for Shopify)
const weight = quiz.answers.byBlock['weight'].value;
const height = quiz.answers.byBlock['height'].value;
const bmi = weight / (height * height);

const display = window.quiz.getElementById('bmi-result');
display.innerHTML = bmi.toFixed(2);
On Shopify Legacy, WooCommerce, Magento, BigCommerce and Standalone
These platforms use the prq global object (Vue.js based). The API is broader in surface area but uses a different conceptual model.
Inspecting the prq object
Open browser DevTools (F12) → Console and type:
console.log(prq);This displays all available methods and properties in the prq scope, letting you inspect the quiz data in real time.
Reading quiz state
// List all slides and their responses
prq.quizSlides();

// Get a specific question value (find slide ID via prq.quizSlides() in console)
const skinType = prq.getSlideValue('rgiq0oE');

// Participant info
const email = prq.leadEmail();
const phone = prq.leadPhone();
const name = prq.leadName();

// Results-page data
const results = prq.resultsPage();
const recs = prq.recommendedProducts();
const topPick = prq.mostVotedProduct();
Cart operations and discounts
// Add all recommended products to cart
prq.addAllToCart();

// Apply a discount code
prq.setDiscountCode('QUIZ10');

// Proceed to checkout
prq.checkout();
Sample customisations
| Action | Code |
|---|---|
| Alert on answer selection | document.querySelectorAll('.quiz-answer').forEach(answer => {
answer.addEventListener('click', () => {
alert('Answer selected: ' + answer.textContent);
});
}); |
| Send to Google Analytics | document.querySelectorAll('.quiz-answer').forEach(answer => {
answer.addEventListener('click', () => {
gtag('event', 'quiz_answer', {
event_category: 'Quiz',
event_label: answer.textContent,
value: 1
});
});
}); |
| BMI calculator | var element = document.getElementById("body_mass_index_calculation");
var weight = prq.getSlideValue("rgiq0oE");
var height = prq.getSlideValue("0Mi2qLN");
var bmi = weight / (height * height);
element.innerHTML = bmi.toFixed(2); |
Callback function for storefront-side integrations
For storefront integrations (custom results pages, third-party analytics, ad-platform conversion events), use the callback-function pattern. Add this to your store’s theme, ideally just before the closing </head> tag:
<script>
  function prqQuizCallback(quizResponse) {
    console.log(quizResponse);
    // quizResponse is a JSON object containing:
    // - all questions asked
    // - customer's responses
    // - customer tags assigned
    // - products recommended
    // - results page block layout
  }
</script>
The callback fires when the quiz is completed, giving you access to the full response JSON for downstream use (custom analytics events, server-side webhook posts, alternative results-page rendering, etc.).
Best practices
A few principles that apply across both APIs and both layers:
- Use browser DevTools. Inspect elements with right-click → Inspect to find the right CSS selector, and use the Console tab to debug JavaScript in real time. On Built for Shopify, remember that DOM queries scoped to the quiz need
window.quiz.querySelector()rather than the regulardocument.querySelector()because the quiz lives inside a shadow DOM. - Version your changes. Use the quiz version history to track CSS/JS changes across published versions; you can roll back to the most successful version if a customisation regresses conversion.
- Optimise for performance. Minify large CSS blocks, avoid excessive DOM manipulation in JS, debounce event handlers. The quiz already loads fast natively; don’t undo that with bloated custom code.
- Test across browsers and devices. Most quiz traffic is mobile; test on iOS Safari and Android Chrome specifically. Picture-choice question grids and animated transitions are the two areas most likely to render differently between browsers.
- Comment your code. The next person who edits the custom-CSS block on your quiz will thank you. Especially if that next person is future-you in six months.
Frequently asked questions
Which JavaScript API do I use on my platform?
If you’re on Built for Shopify, use the quiz (data) and actions (methods) globals. If you’re on Shopify Legacy, WooCommerce, Magento, BigCommerce, or Standalone, use the prq global. The two are not interchangeable: prq won’t exist on Built for Shopify, and quiz / actions won’t exist on the legacy platforms. Confirm which one is available by typing console.log(quiz) or console.log(prq) in your browser console with the quiz open.
Where do I find a block reference (Built for Shopify) or slide ID (Legacy)?
On Built for Shopify: Block IDs are visible directly in the Quiz Builder settings panel for each question, with a copy icon next to them. On Legacy / multi-platform: open the quiz in preview or live, open browser DevTools (F12), go to Console, type prq.quizSlides() and expand the results to find each slide’s id property.
Can I use Liquid in custom code blocks?
Only on Built for Shopify (because Liquid is a Shopify-only templating layer). The legacy / multi-platform versions support JavaScript and HTML only. The docs explicitly state: “Liquid is not available in WooCommerce / Magento / BigCommerce / Standalone.”
How do I add a product to the cart from custom JavaScript?
On Built for Shopify: use the native Shopify Cart AJAX API (fetch('/cart/add.js', {...})) and call actions.syncCart() afterwards to refresh the quiz UI with the updated cart state. On Legacy / multi-platform: use prq.addAllToCart() to add all recommended products, or call prq.addToCart(productId, quantity) for a specific product.
How do I debug if my custom code isn’t running?
Three quick checks: (1) confirm the script is enabled via the ▷ / ❚❚ toggle in the editor; (2) confirm you published / saved the change (Save on Built for Shopify, Publish on others); (3) open browser DevTools Console, where prq is not defined means you’re using the wrong API for your platform and quiz is not defined means the same in the opposite direction. The third common cause is querying the DOM with document.querySelector() on Built for Shopify, where the quiz lives inside a shadow DOM and needs window.quiz.querySelector() instead.
Where this fits
Custom CSS and JavaScript are the safety valve when the Quiz Builder’s built-in design and logic panels don’t cover an edge case. Most stores never need to write a line of custom code; the ones that do are usually agencies running multi-brand setups, developers integrating with a bespoke storefront, or teams chasing the last few percentage points of conversion through fine-grained behavioural tweaks.
If you write something interesting and want to share it, or want help getting a specific customisation working, reach out to our team. We love seeing how merchants extend the quiz, and we’ll happily review code or suggest the cleanest pattern for what you’re trying to do.
For the foundations, see how to build a successful product recommendation quiz. For the question types you can target with custom selectors, see product quiz question types: the complete reference. For the recommendation logic your custom code reads from, see the six recommendation systems compared, and for the platform split behind the two JavaScript APIs, see RevenueHunt is Built for Shopify: what’s different vs Legacy. For deeper docs:
Free tools & data
Put these benchmarks to work on your own store.
Free tool
Quiz ROI calculator
Estimate the extra revenue and ROI a product recommendation quiz could add to your store. Built on real data, no email required.
Calculate your ROIFree report
Ecommerce quiz benchmark report
How product recommendation quizzes really perform: conversion by category, AOV uplift, and completion, from 45M+ real quiz responses.
Read the report

Most shoppers leave because they can't find the right product