Creating your first quiz
Let’s go through the basics of how to create and publish your first Product Recommendation Quiz on your store.
First, take a look at this short video:
Step 1: Creating your first quiz
In the app’s dashboard, click on the “add new quiz” button:
You can choose from one of our pre-defined quiz templates or start a new one from scratch.
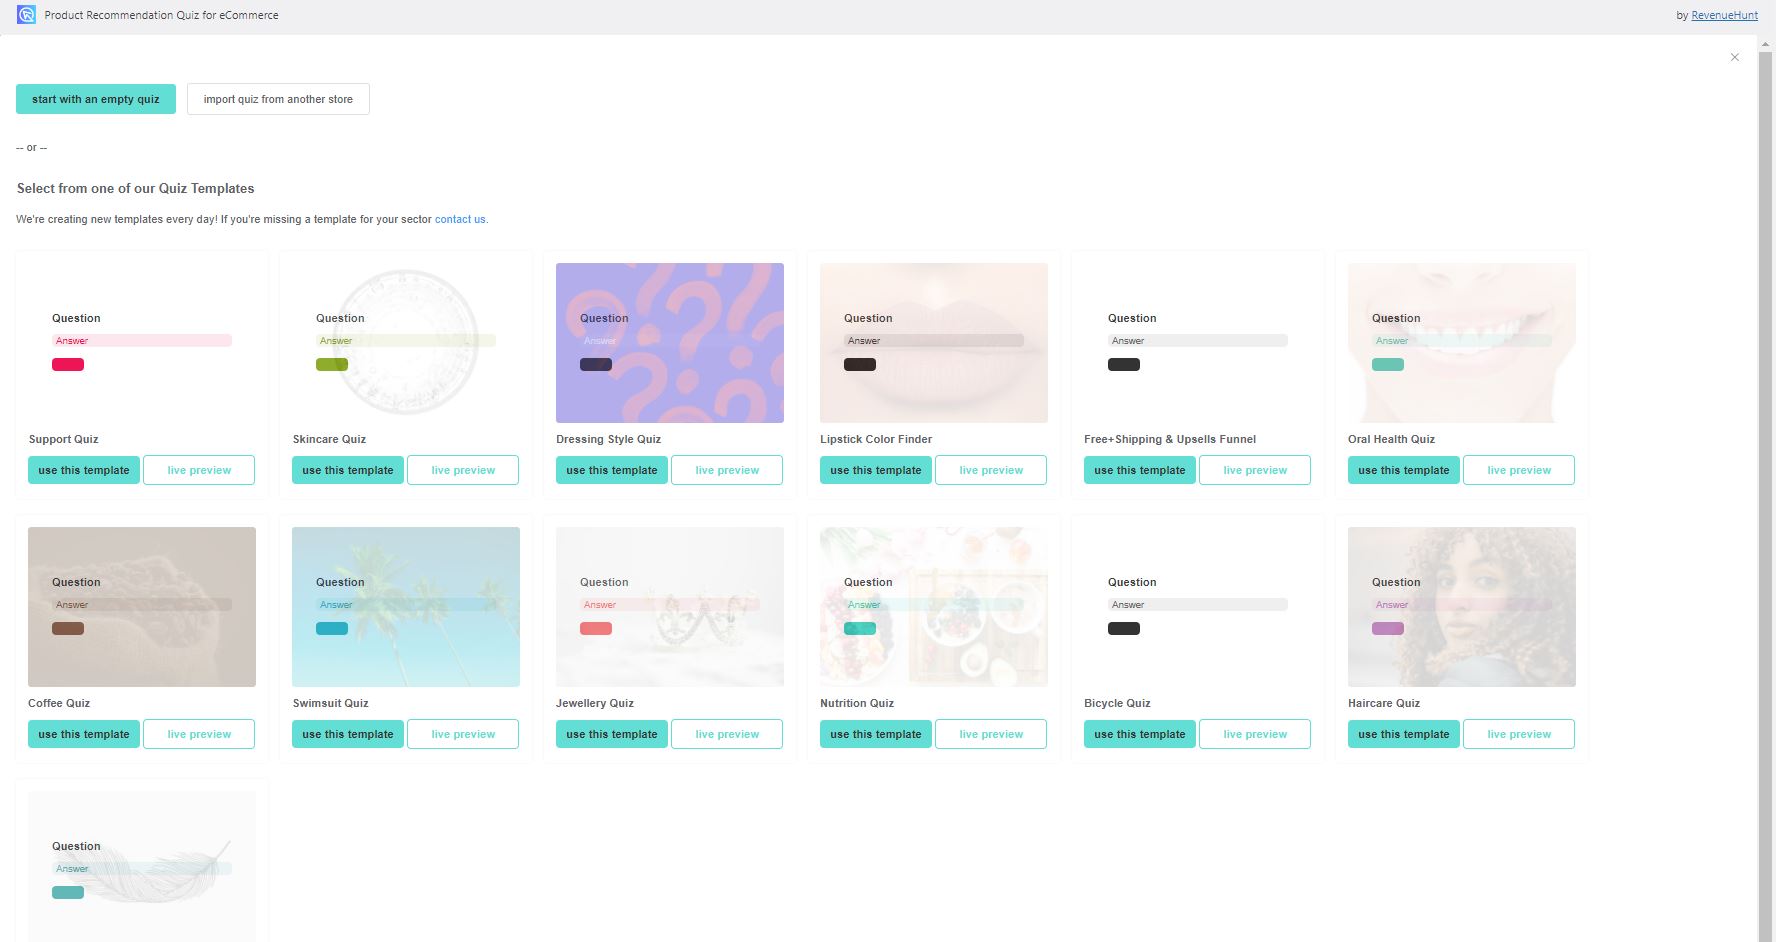
Give a name to your Product Recommendation Quiz. You can always edit the name of your quiz later.
If you follow the previous steps, you should end up in the Quiz Builder section, where you can add/delete questions, create different options for each question and link your products and collections to each option.
Step 2: Adding and deleting questions
To add a new question to your quiz, hover over any existing question until you see the “add new question” button highlighted. Click on it to choose one of the following question types from the dropdown list.
To delete a question, click on the “more options” button (three dots) and then click on “Delete”:
For more information, check this Adding and deleting questions page.
Step 3: Recommending the right products
What really differentiates us from other quiz or form builders, is that we use your customer’s responses to recommend the products which best match their needs.
This is done by linking Product Variants and Collections (collections can be easily created and managed in your store) to each particular choice. To do this, click on the “Link Products” or “Link Collections” tab in the Quiz Builder.
Navigate to your quiz and go either to the “Link Products” or “Link Collections” tab. This will display two inputs for every response. The left column is used to include product variants or collections. When taking the quiz, if your customer selects that choice, all of the linked product variants (or all the products in that collection) will receive one vote.
The right column is used to link product variants or collections which will be completely excluded from the product recommendations if your customer clicks on that option. This is very useful for excluding product variants that might contain allergens or sensitive ingredients.
After your customer takes the whole quiz, the results page will show the products organized by the votes they received.
Not sure how to build the quiz outcome you want? Check this article. It takes you there step-by-step and explains the most important features.
Note: Subscription products are supported in the Product Recommendation Quiz for Recharge in Shopify and WooCommerce subscriptions. For other platforms, there is a workaround.
Step 4: Publishing the quiz on your store
Once you’ve finished building your quiz, linking your product collections to each response, and customizing the quiz’s design to match your store’s look & feel, you’ll be ready to go live.
Click on the “Publish” button on the top-right menu or the “Share” link on the top-center part of the quiz builder. This should open a view where you can choose among our different display options and preview how the quiz will be embedded on your website:
There are multiple ways your quiz can be added to your store:
– Popup Link. The quiz will be displayed as a popup when your customer clicks on a navigation menu link or a link on any page or blog post.
– Inline Embed. The quiz will be displayed inline inside the content of any page or blog post.
– Automatic Popup. The quiz will be displayed as a popup when someone spends more than X seconds on that page.
– External link. The quiz will be displayed as a popup when someone clicks on a shared link. You can share it in your social media posts, via email, on ads, etc.
– Email link. The quiz will be displayed as a popup when someone clicks on a shared email link.
– Chat icon. The quiz will be displayed when visitors click on a chat-like button.
Select the best option for you, click on “get the code”, copy the code and follow the instructions to insert it in your store:
Read more about publishing the quiz here.
Congratulations! Now you know how to build and publish your first quiz.
If you need to make changes to the quiz after it’s been published, make sure to hit the “Publish” button to apply the changes to a live quiz.
Next steps: